
Make your own DIY USB Rubber Ducky
A USB rubber ducky is a USB device that looks like a normal USB thumb drive with the exception that it can be used to send HID commands to a computer just like a keyboard and mouse do. You can purchase a commercial Keystroke Injection Attack Platform or USB rubber ducky from the HakShop or you could make your own DIY USB Rubber Ducky with an Arduino.

There are a number of Arduinos that supports HID commands. The Leonardo or the Pro Micro, for instance, are centered around an ATmega32U4. The 32U4 comes with a full-speed USB transceiver interface, allowing the Pro Micro/Leonardo to be programmed to emulate any USB device. In simple terms, you can program the Pro Micro/Leonardo to act just like a mouse, keyboard or other HID-class USB device. There are even libraries available from the Arduino website that allows the 32U4 Arduinos to appear as a native Mouse and/or Keyboard to a connected computer.
Parts list
-
- Arduino Pro Micro; ~£3 from eBay
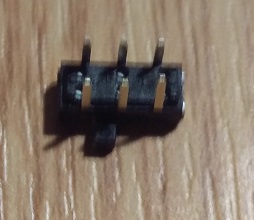
- USB Type A surface mount connector
- MICRO USB MALE TO USB Female OTG Adapter
-
- USB case
- Small Toggle Switch
The toggle switch is to be used to put the Arduino into the HID mode. If the Mouse or Keyboard library is constantly running, it will be difficult to program your board, so the switch toggles the board into idle mode and thus allows it to be programmed.
- 10k Resistor & misc wires
Putting it all together
To assemble the USB dongle, we picked a small USB case but this proved difficult to squeeze all the components inside it.
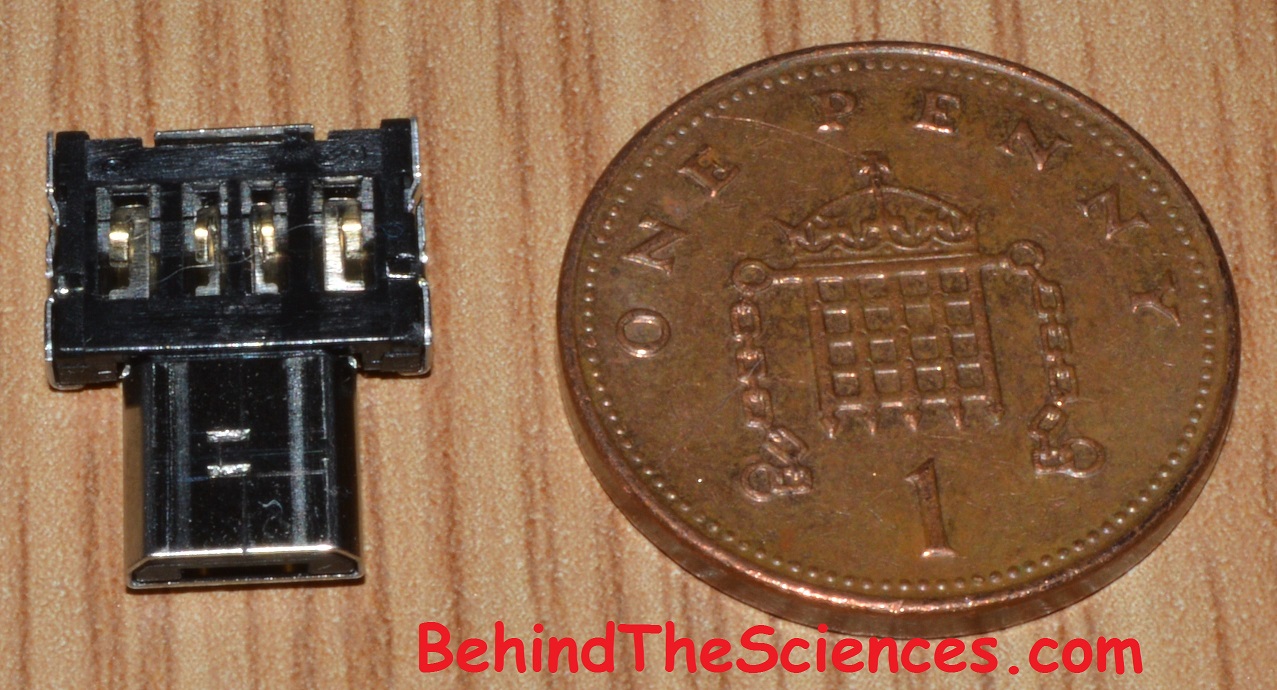
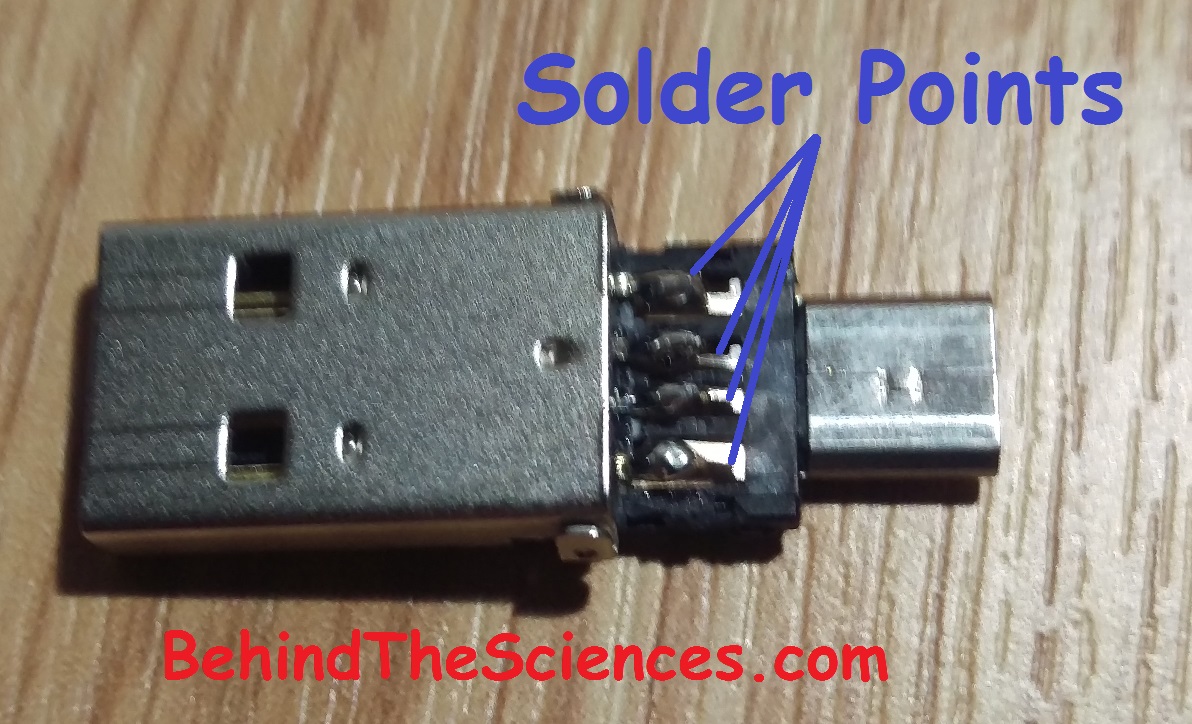
Normal USB type A to micro USB male adapter was also found to be too big, so we decided to solder a surface mount USB Type A connector to a OTG adapter and glued the plastic parts together. The results look as follows:

The micro toggle switch was glued at the back of the case and an opening was cut in the case to allow the switch to be toggled.


To finish up the USB rubber ducky, connect the USB adapter to the Pro Micro and fit it in the case. A 10k resistor is soldered between the Pro Micro ground to the Digital Pin 8. Solder a wire between Pin 8 and the common connection of the switch. Connect the 5V pin of the Pro Micro to another pin of the switch. The resulting finish is as follows:
And with the case closed:


Programming your DIY USB Rubber Ducky
To get started, toggle your switch to the “off” position. Then plug it your computer. Upload the following code onto the board using the Arduino environment.
#include "Keyboard.h"
void setup() {
pinMode(8,INPUT);
 Keyboard.begin();
delay(3000);
if (digitalRead(8) == HIGH){
  // new document:
  Keyboard.press(KEY_LEFT_GUI);
  delay(300);
  Keyboard.releaseAll();
  delay(300);
  Keyboard.println("notepad");
  delay(500);
  Keyboard.press(KEY_LEFT_CTRL);
  Keyboard.press(KEY_LEFT_SHIFT);
  Keyboard.press(KEY_RETURN);
  Keyboard.releaseAll();
  delay(800);
  Keyboard.press(KEY_LEFT_ARROW);
  Keyboard.release(KEY_LEFT_ARROW);
  delay(500);
  Keyboard.press(KEY_RETURN);
  Keyboard.release(KEY_RETURN);
  //Keyboard.releaseAll();
  delay(500);
  Keyboard.print("Hello from BehindTheSciences.com");
  Keyboard.print(char(236));
  delay(100);
  Keyboard.press(KEY_RETURN);
  Keyboard.release(KEY_RETURN);
  delay(100);
  Keyboard.releaseAll();
 }
}
void loop() {
}
Once uploaded, unplug the USB and toggle the switch to the “on” position. Plug it back in. The above code will open Notepad in Admin mode and type some text. See the following video for a quick demo.
We would like to point out that information provided here are for educational purposes. USB rubber ducky is used to automate task but can also be used unethically to deploy viruses and trojan. We are not responsible for misuse of information provided here.
Thanks for reading. Contact us at [email protected] for comments or questions.
Related Posts


About The Author
behindthesciences
We are two engineers who work in the Electronic and Telecommunication industry. We regularly blog in our spare time.
Hey, interesting idea. What usb case did you use for this project?
It was USB-7201-G from Farnell.
Where did you purchase It? I can’t seem to find it for a reasonable price
As our previous comment said. From Farnell. It was pretty cheap.
Question could you please give more info on how to join the micro usb port from arduino to all the other stuff please?? I can’t see very well from the pictures you’ve taken also do you think it is possible to join a usb male to a micro usb male instead of using the surface and otg??
I think that is self explanatory. You just need to have make a USB to micro usb connector. Of course, you can use any other way. We chose the OTG as it is compact.
I am curious which Arduino board you used. Looks like the https://www.sparkfun.com/products/11113
If you have a part number that would help. I want to build a shopping list to make a few of these. Great post BTW. I had been looking for someone who had done this project and posted about it.
The Arduino we used is: Pro Micro. It’s a generic one from: https://www.gearbest.com/boards-shields/pp_1306197.html?lkid=12809530
Where did you buy the Small Toggle Switch?
We got it from Farnell. Order code: 2435145